
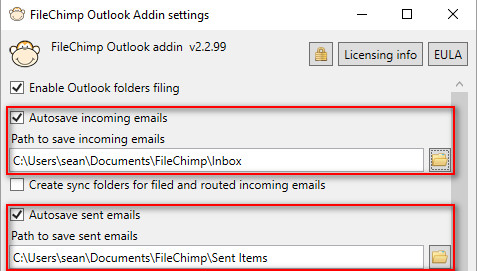
Step 1 - Enable auto save for Outlook
In order for emails to be auto saved to network or cloud folders you need to first enable the FileChimp auto save options within the Outlook addin. Within Outlook locate the FileChimp settings (cog icon on the ribbon menu). Enable auto save Incoming emails and auto save outgoing emails. You can use different paths or a single path.
Step 2 - Configure a rule from the FileChimp taskbar application
Once this is done you can configure the FileChimp taskbar application to sort the emails into relevant network or cloud folders based on a generic rule which will be dependent on your requirements. An accountant may file emails into network folders based on the sender/recipients email address or domain name while an architect may wish project emails to be stored in folders which contain a specific project number.
